As a long and particularly stubborn winter comes to an end, it’s the perfect time to start pulling out the gardening gloves and get planting.
Don’t let a lack of space stop you from taking up gardening. You can start a little patch of green paradise almost anywhere, whether you have a backyard garden bed, a balcony with room for a row of pots, or a plot at your community garden.
This article will outline the gardening basics so you can dust off your green thumbs and bring some vibrant flowers or tasty fresh veggies to life.
Step 1: Location, location, location
Scope out your backyard, your balcony, or check to see if a community garden near you has garden plots available for rent. These can cost as little as $10 for the growing season. There are plenty of community gardens close to MacEwan University, including the Alex Decoteau Community Garden, the Queen Community Garden, and the Urban Eden Community Garden. There are also many other community gardens throughout the city, if you don’t live downtown.
Step 2: Give your soil some love
The foundation to a thriving garden is, unsurprisingly, the soil.
For in-ground plots, till the soil with a garden claw or garden hoe. Then, work some manure or compost into the freshly tilled soil for a boost of nutrients.
If you are using pots, first make sure that they have adequate drainage. Otherwise, you’ll end up accidentally drowning your plants. Choose a light potting mixture for your soil. This will help with drainage, and additionally, these mixtures usually come equipped with important nutrients your plants will need — no additional manure or compost required. You’ll be able to find potting soil designed for containers at any garden centre.
Step 3: Plan your garden
It takes a little bit of brainpower, but if you put in the work to plan your garden now, it’ll be much more successful — something your neighbours will whisper about enviously.
Annuals vs. perennials
First, choose your plants!
When it comes to flowers, annuals (flowers that only last one growing season) are the best choice for brand new gardeners. Annuals are perfect for pots, plus they’re more cost effective and need less maintenance than perennials (plants that grow back every year).
Light requirements
It is important to choose your plants based on the light your garden plot/balcony receives. South-facing plots will be sunnier while north-facing plots tend to have more shade.
Marigolds, zinnias, petunias, pansies, sunflowers, and snapdragons are perfect annuals for sunny areas. Begonias, torenias, coleus, impatients, and lobelia thrive in shady environments.
Vegetables
Veggies can also be great additions to garden plots or balcony gardens.
Green beans, carrots, tomatoes, and lettuce are all great options for Edmonton’s limited growing season.
Tomatoes and strawberries can easily be grown in pots, and they both do well in full sun. Herbs are also perfect for pots — oregano, sage, mint, basil — the sky’s the limit!
One good rule to follow, according to an article in The Spruce by Colleen Vanderlinden, is that vegetables grown for their fruit or roots (tomatoes, carrots, beans) do best in full sunlight. Other vegetables that are grown for their leaves or stems (lettuce, for example) can grow in partial sun and shade. Full shade is a no go for most veggies.
From seed or not from seed
For new gardeners, it’s safer to buy established seedlings than to grow all your plants from seed. Our short growing season in Edmonton almost guarantees that frost will set in right when your little seedlings are big enough to start producing fruit or flowers. Save yourself the heartache.
Step 4: Planting!
Now that you’ve chosen your plants, it’s time for the fun part — planting!
In general, dig a hole that is a few inches deeper than the root ball of the plant and add a little compost or potting mix at the bottom of the hole. I like to gently “tickle” the roots of the plants before I plant them, so it is easier for the roots to spread out when they are in the ground.
Pack soil loosely around your plant, mix a little bit of fertilizer in your watering can, water, and you’re done! Planted!
Keep in mind that tiny seedlings don’t stay tiny. Leave 10 to 20 cm of space between your annuals (or do whatever the plant tag suggests) to make sure your plants don’t get overcrowded.
Step 5: General maintenance
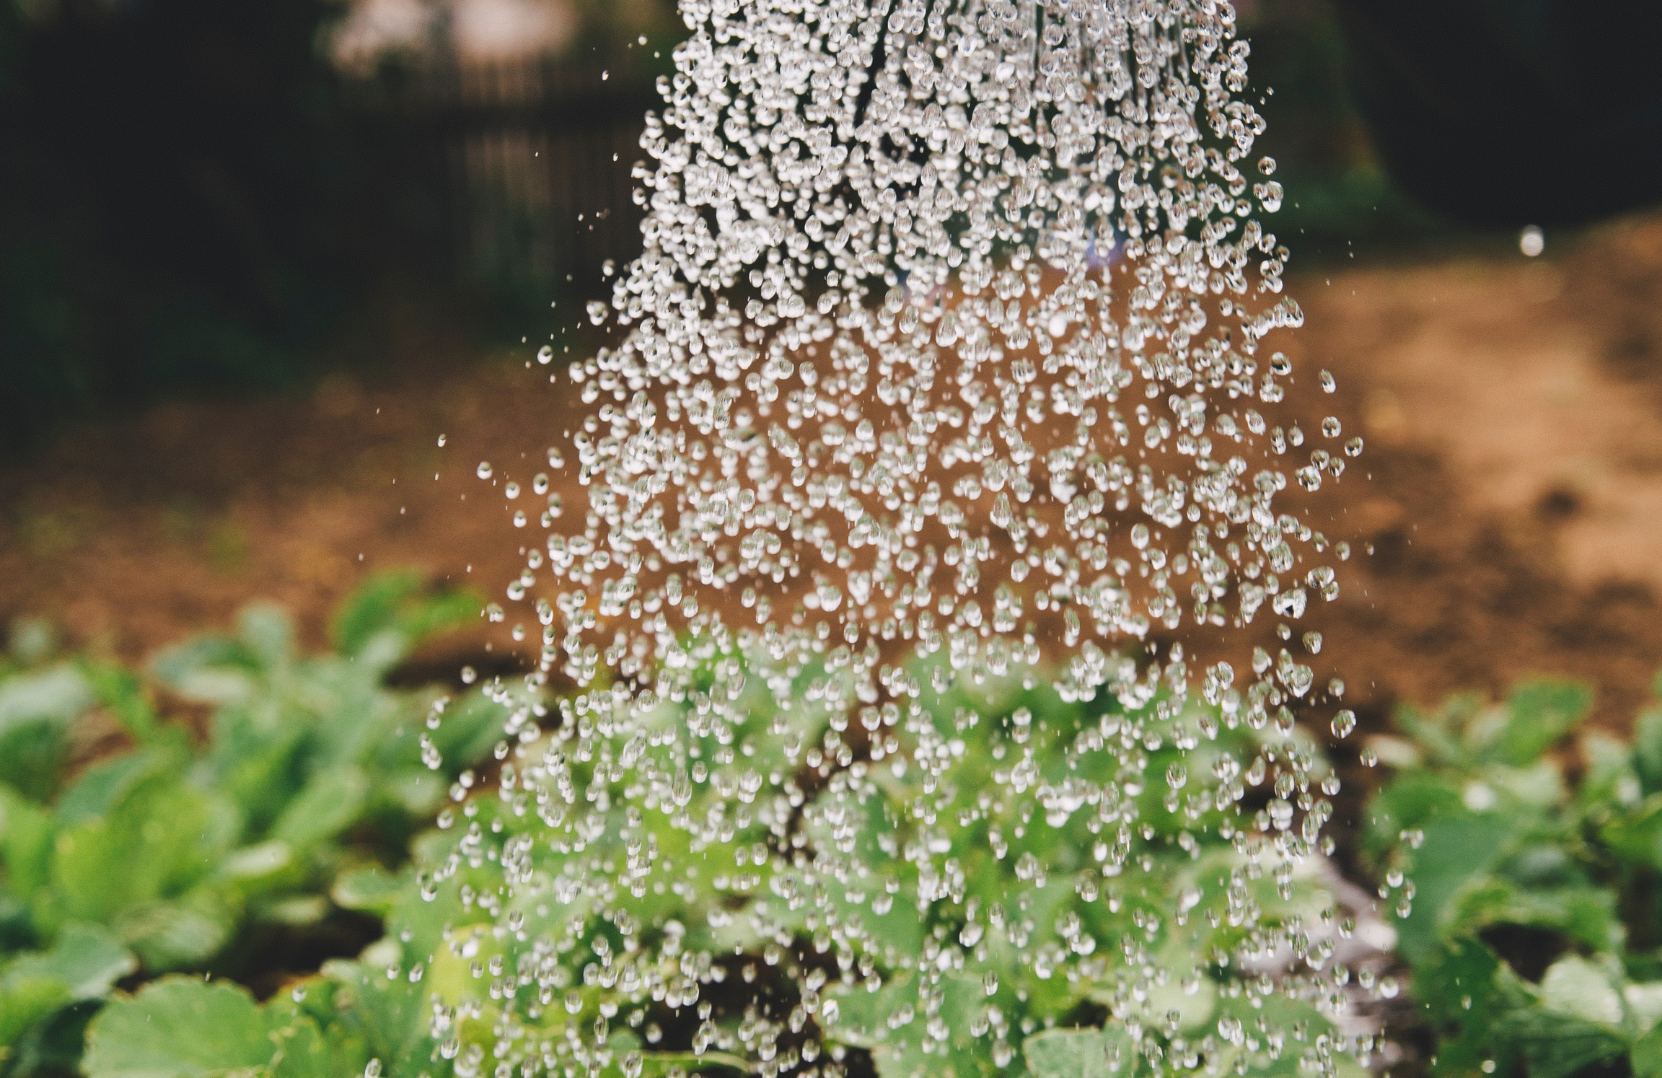
In general, you can get away with only watering your garden a few times a week. But if we end up having ridiculous 30+ degree weather like we did last year, your plants will need a little extra love. On those hot days, water in the evening, not during the midday heat, otherwise you risk burning your precious plants’ leaves.
For garden pots, be careful not to overwater them. Test the soil moisture levels with a finger before you dump a whole watering can on them. If your pots are on a particularly windy balcony, you will have to water them more frequently.
Fertilize your plants every two weeks for the healthiest results. Just mixing a little fertilizer in with your watering can should do the trick.
Finally, don’t be afraid to prune! Dead stems, leaves, and flowers will only slow your plants down. Cut them off so your plants can keep producing envy-worthy blooms all summer long.
Step 6: Enjoy your garden!
Gardening can be hard work, but it’s very rewarding. Make sure you take the time to appreciate your beautiful garden.