November is here, and not much has changed in the COVID-19 scenario. We are all still in the thick of it with second waves, online learning, and restrictions threatening to increase.
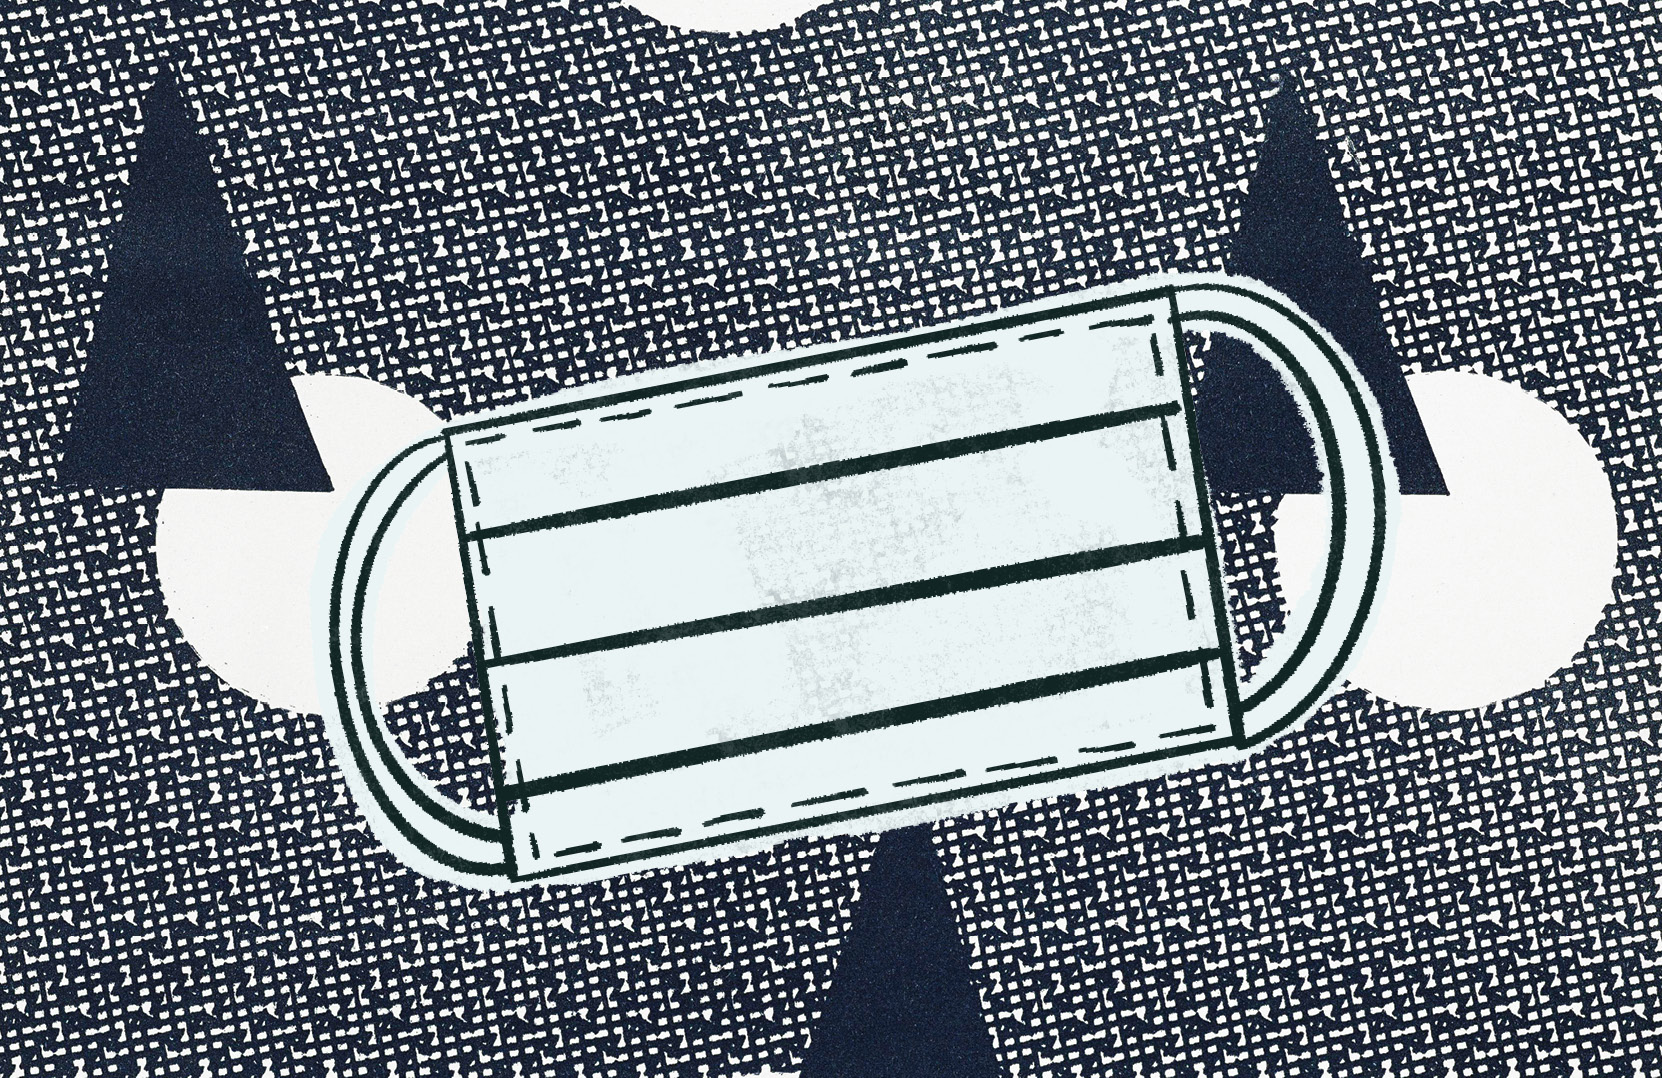
Masks are among the most-used items, and there aren’t many places you can visit without wearing one. However, the cost for masks isn’t small, and on a student budget, purchasing enough to have one for each day of the week so that you don’t have to wash one mask every night can be pricey. If you buy disposable ones, they are also expensive and detrimental to the environment if not disposed of properly. So, if you find yourself with some extra time on your hands, patience, and access to tools and materials, you can make your own.
There are many different types of masks, but for the purpose of this article, we are sticking to the pleated masks and one that you can put together in a pinch if you find yourself without.
- PICK YOUR FABRIC.
This is where you get to be creative and fashionable. You can choose any fabric pattern that tickles your fancy, but ensure it is 100 per cent cotton. Have a mask for each outfit or go with straight black, grey, or white because they tend to go with everything. There are many stores in Edmonton that sell fabric, but Trapunto, in particular, also has a really great site with lots of options. But be warned, it is possible to go down the Trapunto rabbit hole.
- GATHER YOUR SUPPLIES.
Along with fabric, you will need some fabric elastic, scissors, and a fabric measuring tape. If you have a sewing machine, great, but a needle and thread will be fine if you do not.
- GET CUTTING.
Cut one fabric rectangle 16 inches long and 8.5 inches wide. Cut two pieces of elastic, each 7 inches long.
- SEW IN THE ELASTICS.
Fold the fabric in half widthwise so that the material is inside out and looks like a square. Tuck the elastic ends into each open corner, sew a line along all four edges, make sure you catch the elastic ends, and that the elastics are now inside the pocket. Leave a 3-inch hole on your last line so that you can turn the mask right side out.
- IT’S PLEAT TIME.
Once you flip the mask right side out, you should be left with a square that has two elastics sewn in. Now fold that square into three equal pleats and pin them along the sides to hold them in place. When you’re done, sew a line across all the edges of the mask, sewing down the pleats on the right and left and closing any opening you may have left.
- WEAR IT.
Now that you’re done, you can iron the pleats down if you choose and wear the mask.
- NO-SEW QUICK MASK.
If you can, keep a bandana and a couple of hair elastics in a plastic bag in the car or your bag just in case you forget a mask. When needed, fold the bandana into three or four parts, depending on the size of your face, run each end through an elastic and fold them back into the centre that will be pressed against your face, tucking in the ends to each other. Place the bandana against your face and loop the hair elastics around your ears.
Whichever method you choose, keep one thing in mind: you must wash your mask after each day of use. Although masks are a great way to stop the spread, they are not 100 per cent effective and should be accompanied by hand washing, hand sanitizer, and social distancing whenever possible.


0 Comments